Part 1: Hardware and Features
Part 2: User Interface
Part 3: Limitations
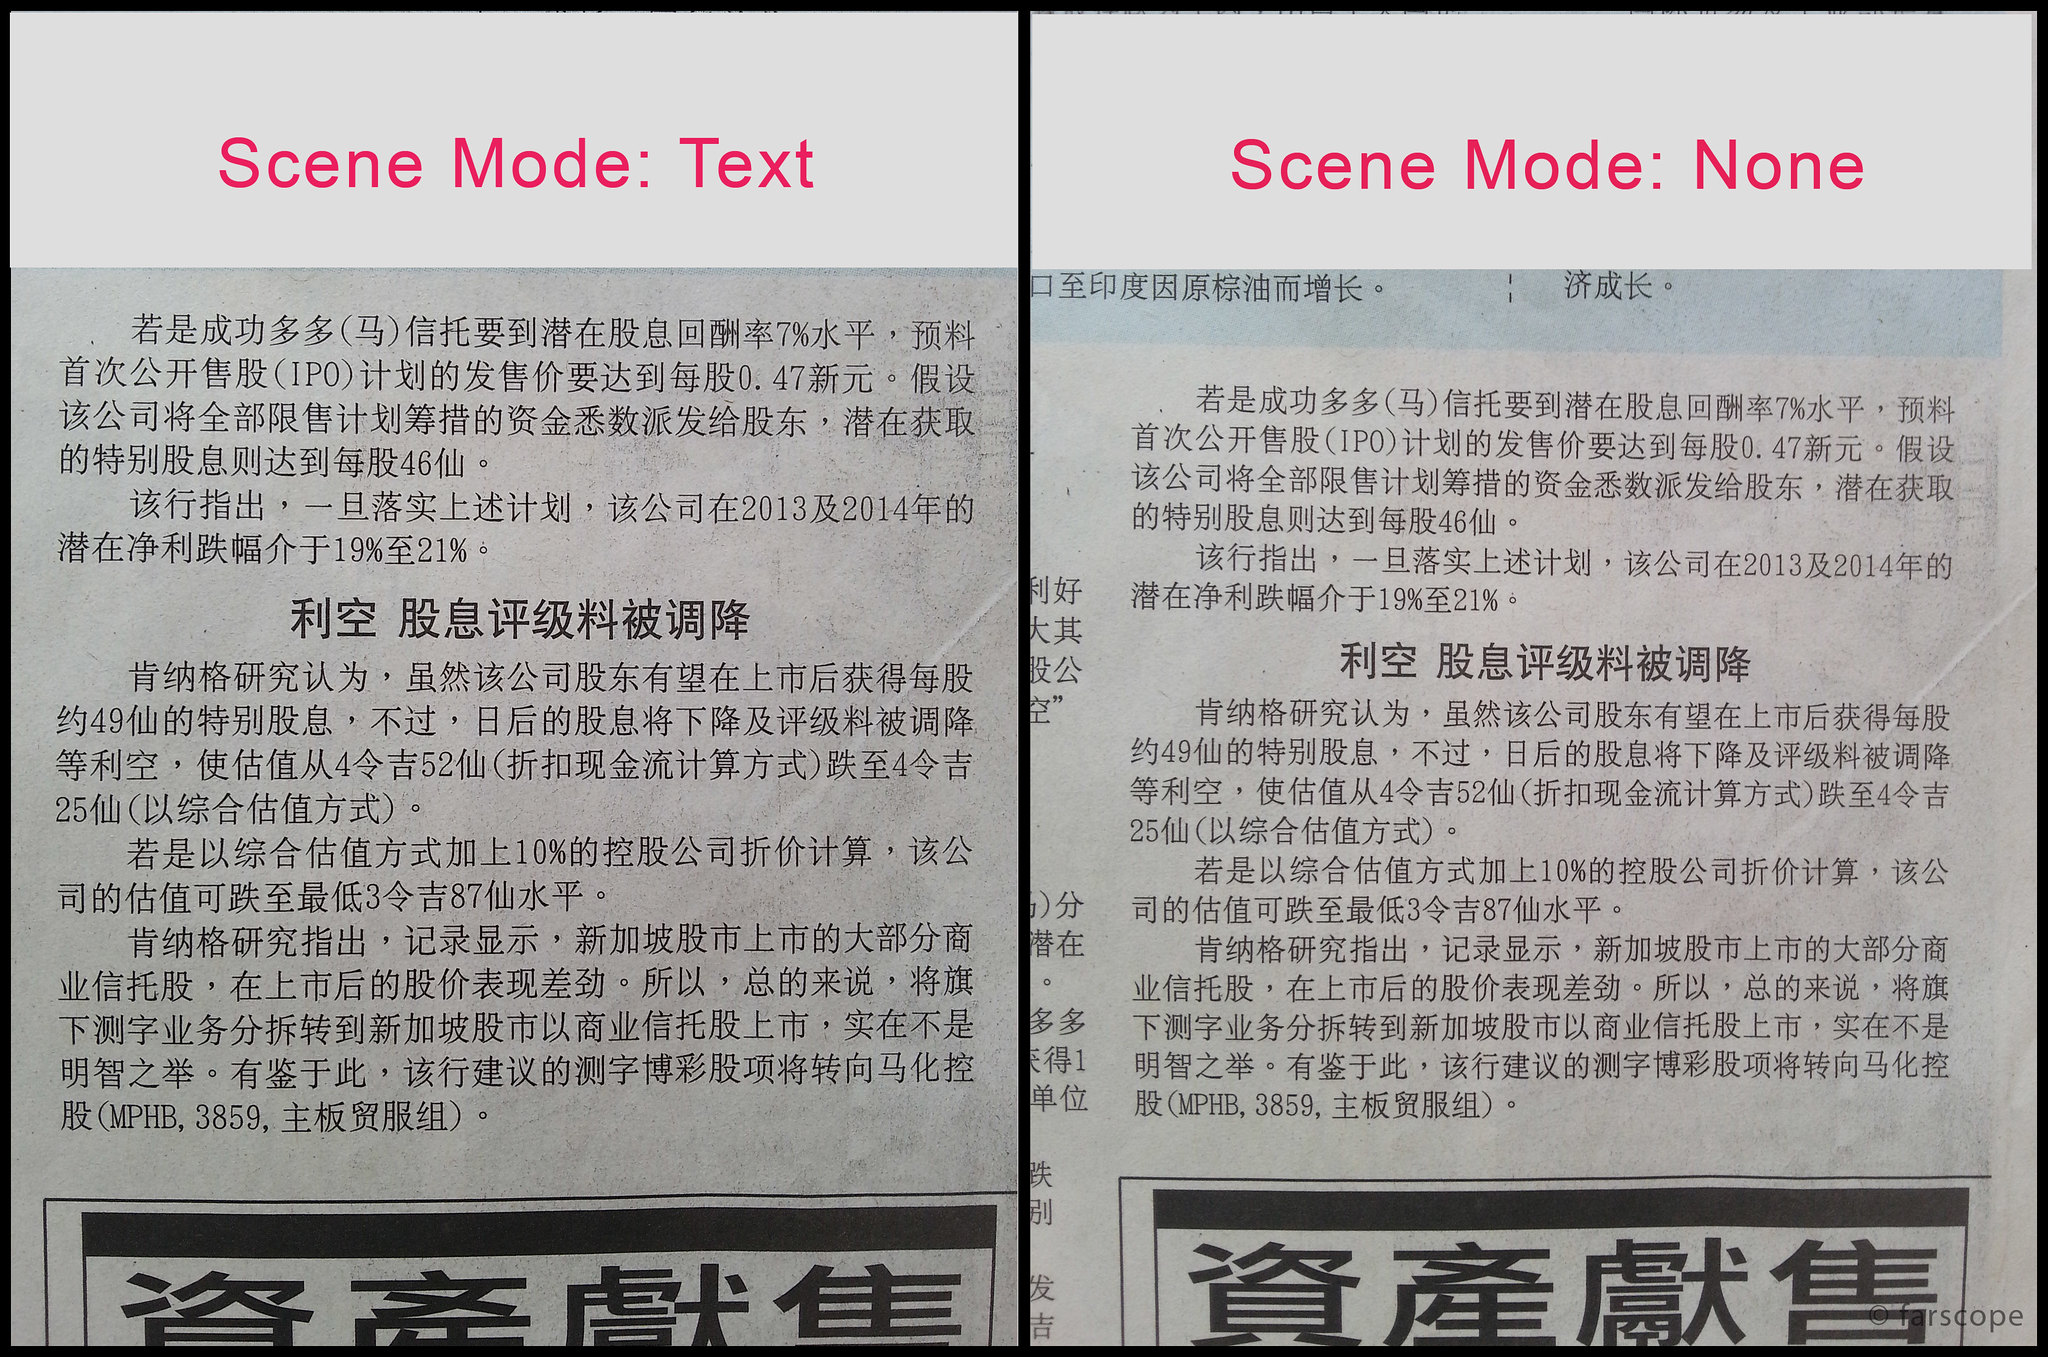
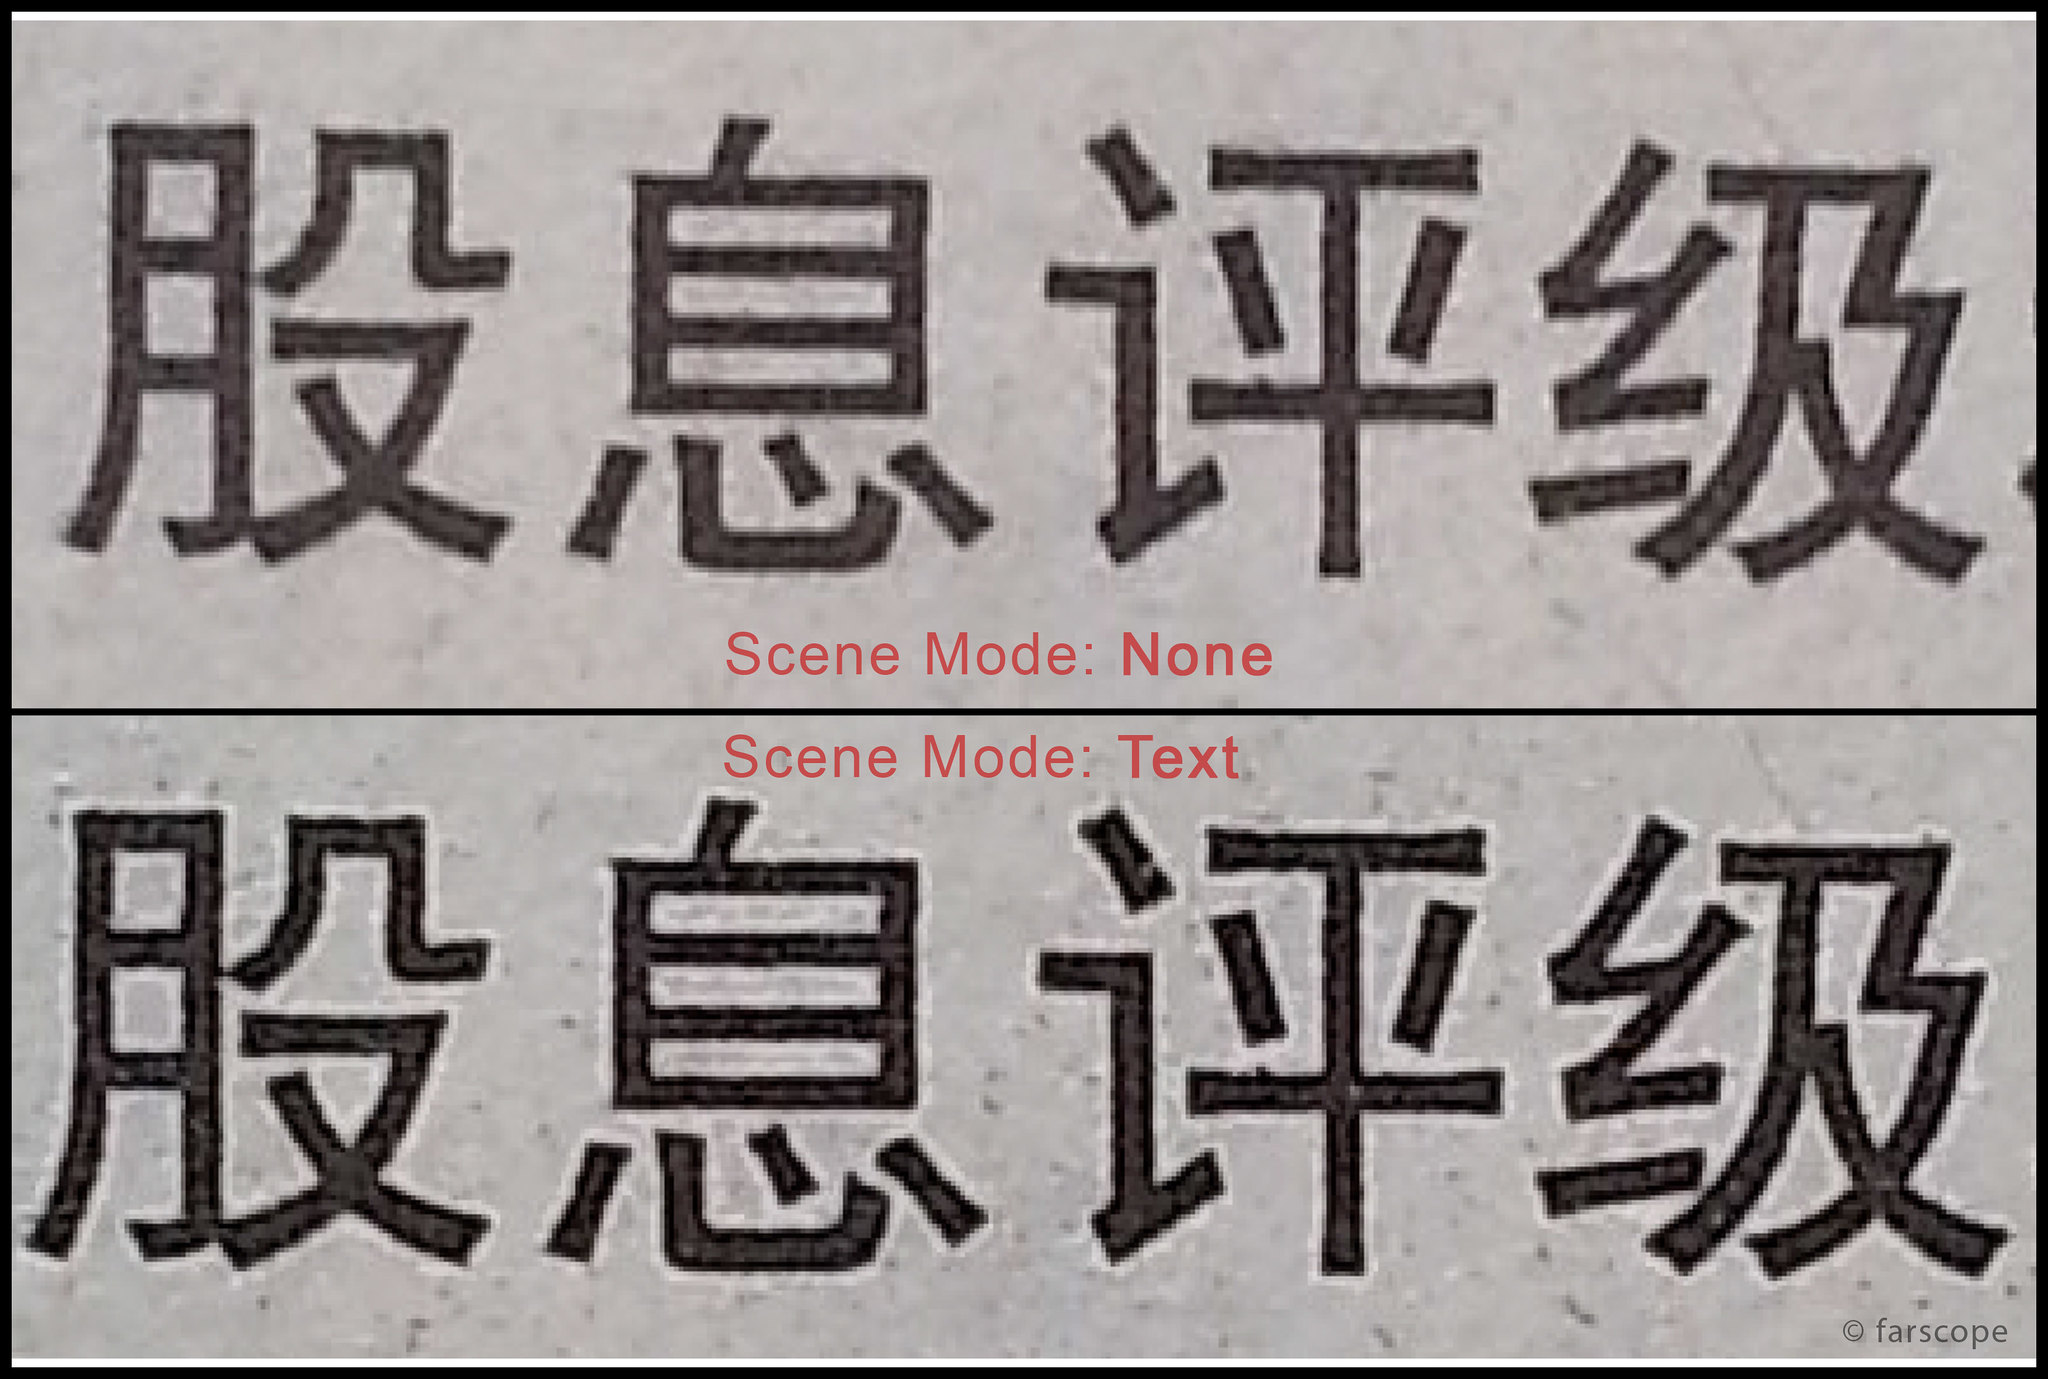
Part 4: Shooting Mode
Part 5: Scene Mode
Part 6: Summary and Conclusion
Shooting Mode
Update: Beautify (16-06-2012)
Update: Panorama Limitations (28-06-2012)
There are a total of nine Shooting Modes available in the Galaxy S3's camera, with some of the modes already discussed previously like the Burst Mode, Share Shot and Buddy Photo Share. The nine modes include:
- Single
- Burst Mode
- HDR
- Smile Shot
- Beauty
- Panorama
- Cartoon
- Share Shot
- Buddy Photo Share
I will briefly explain for some modes which is common, and explain a bit more for those modes that are least found.
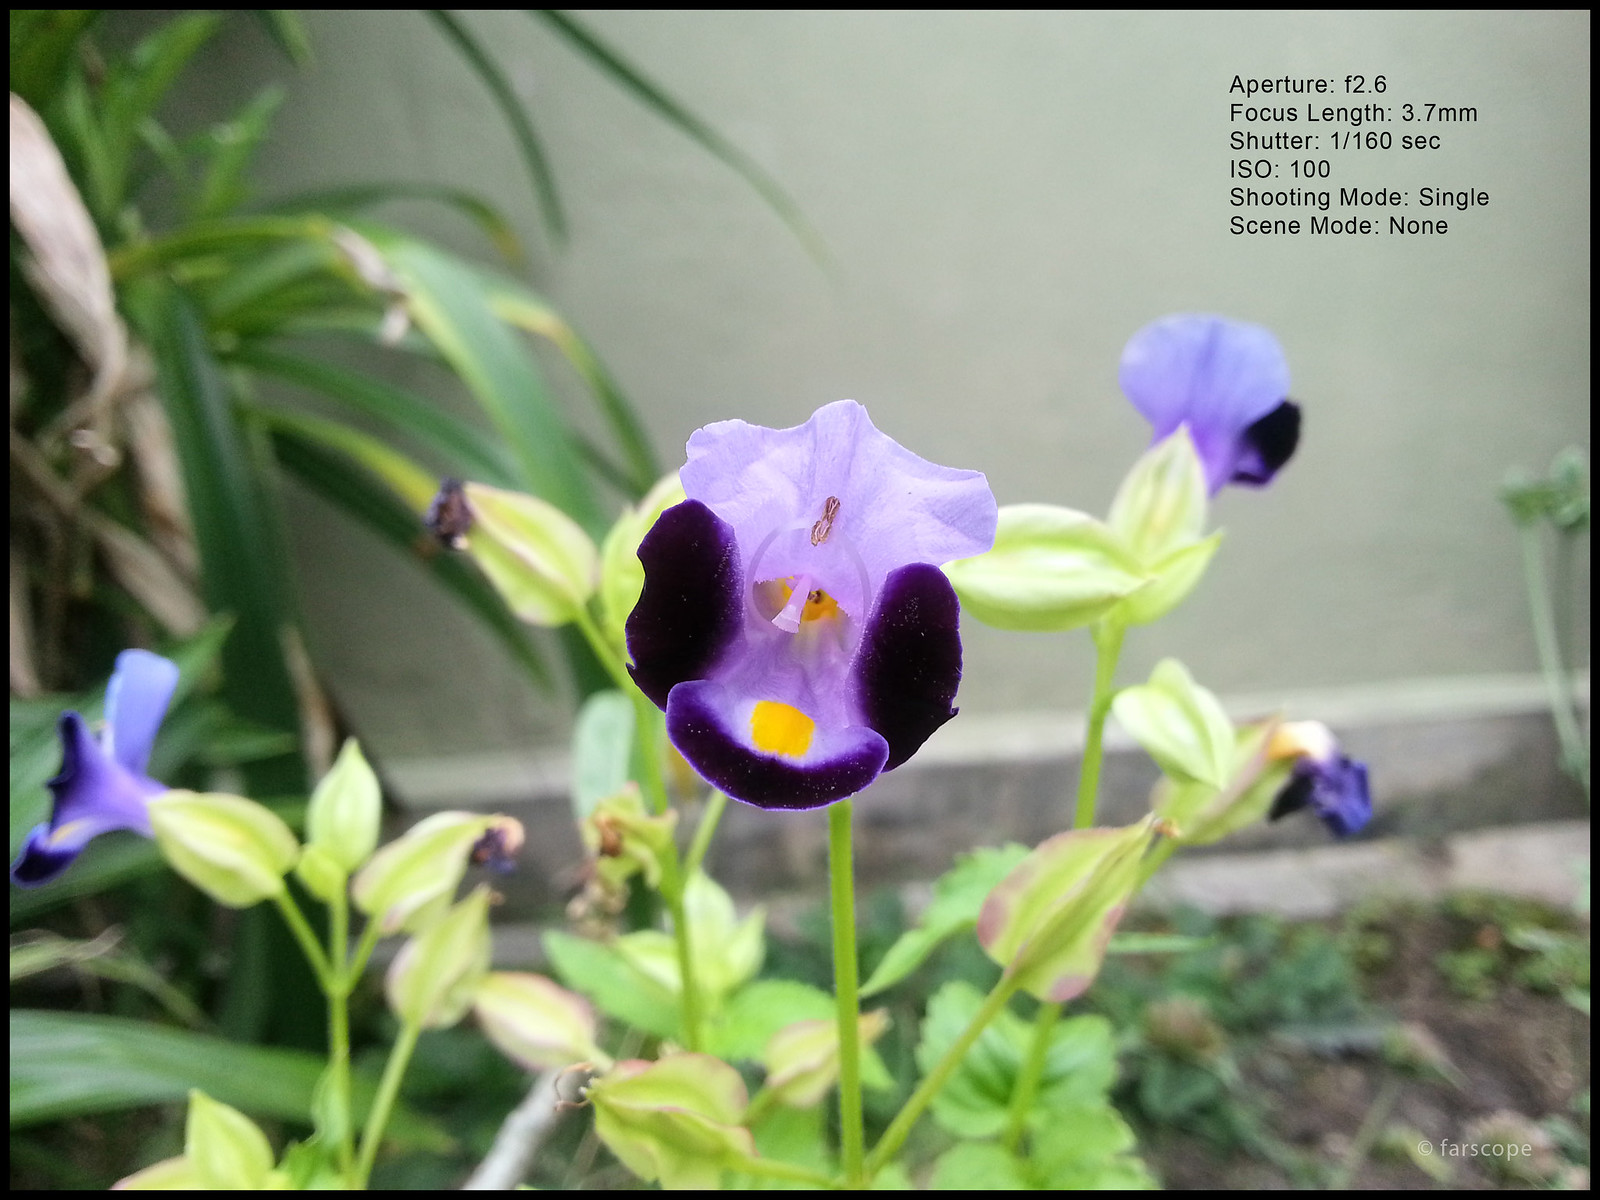
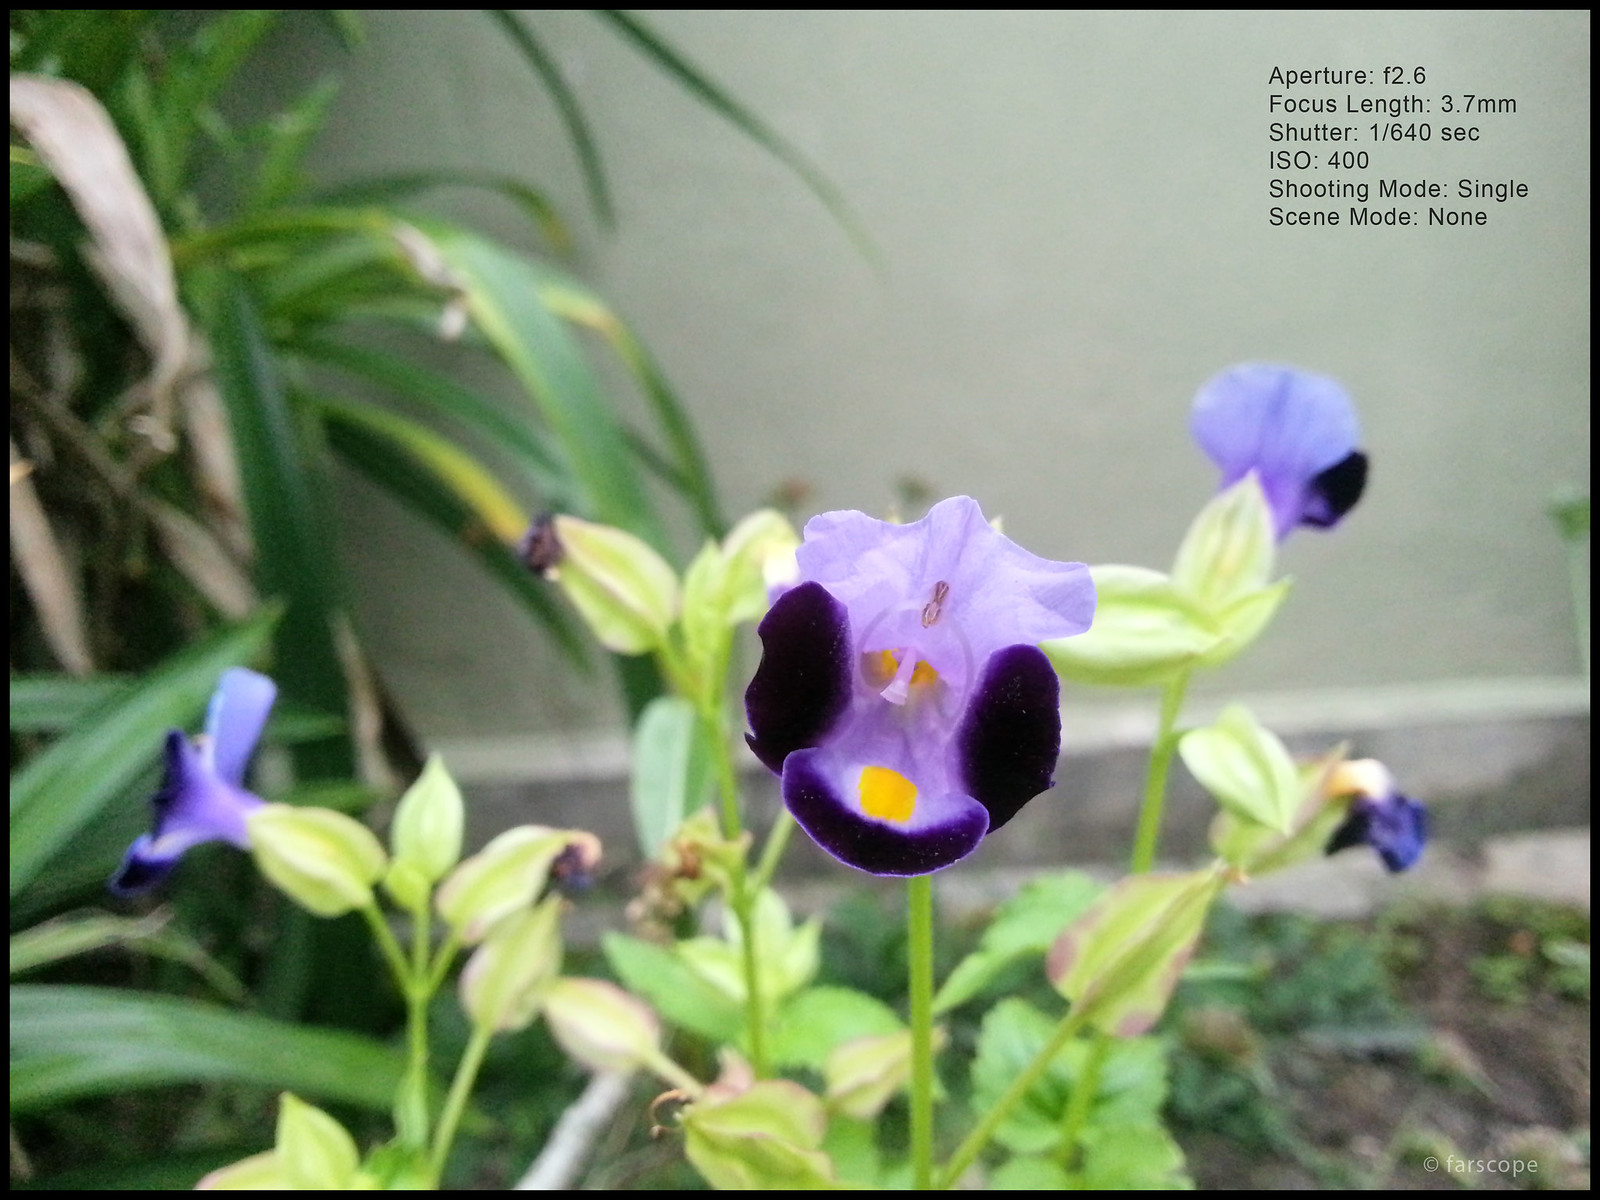
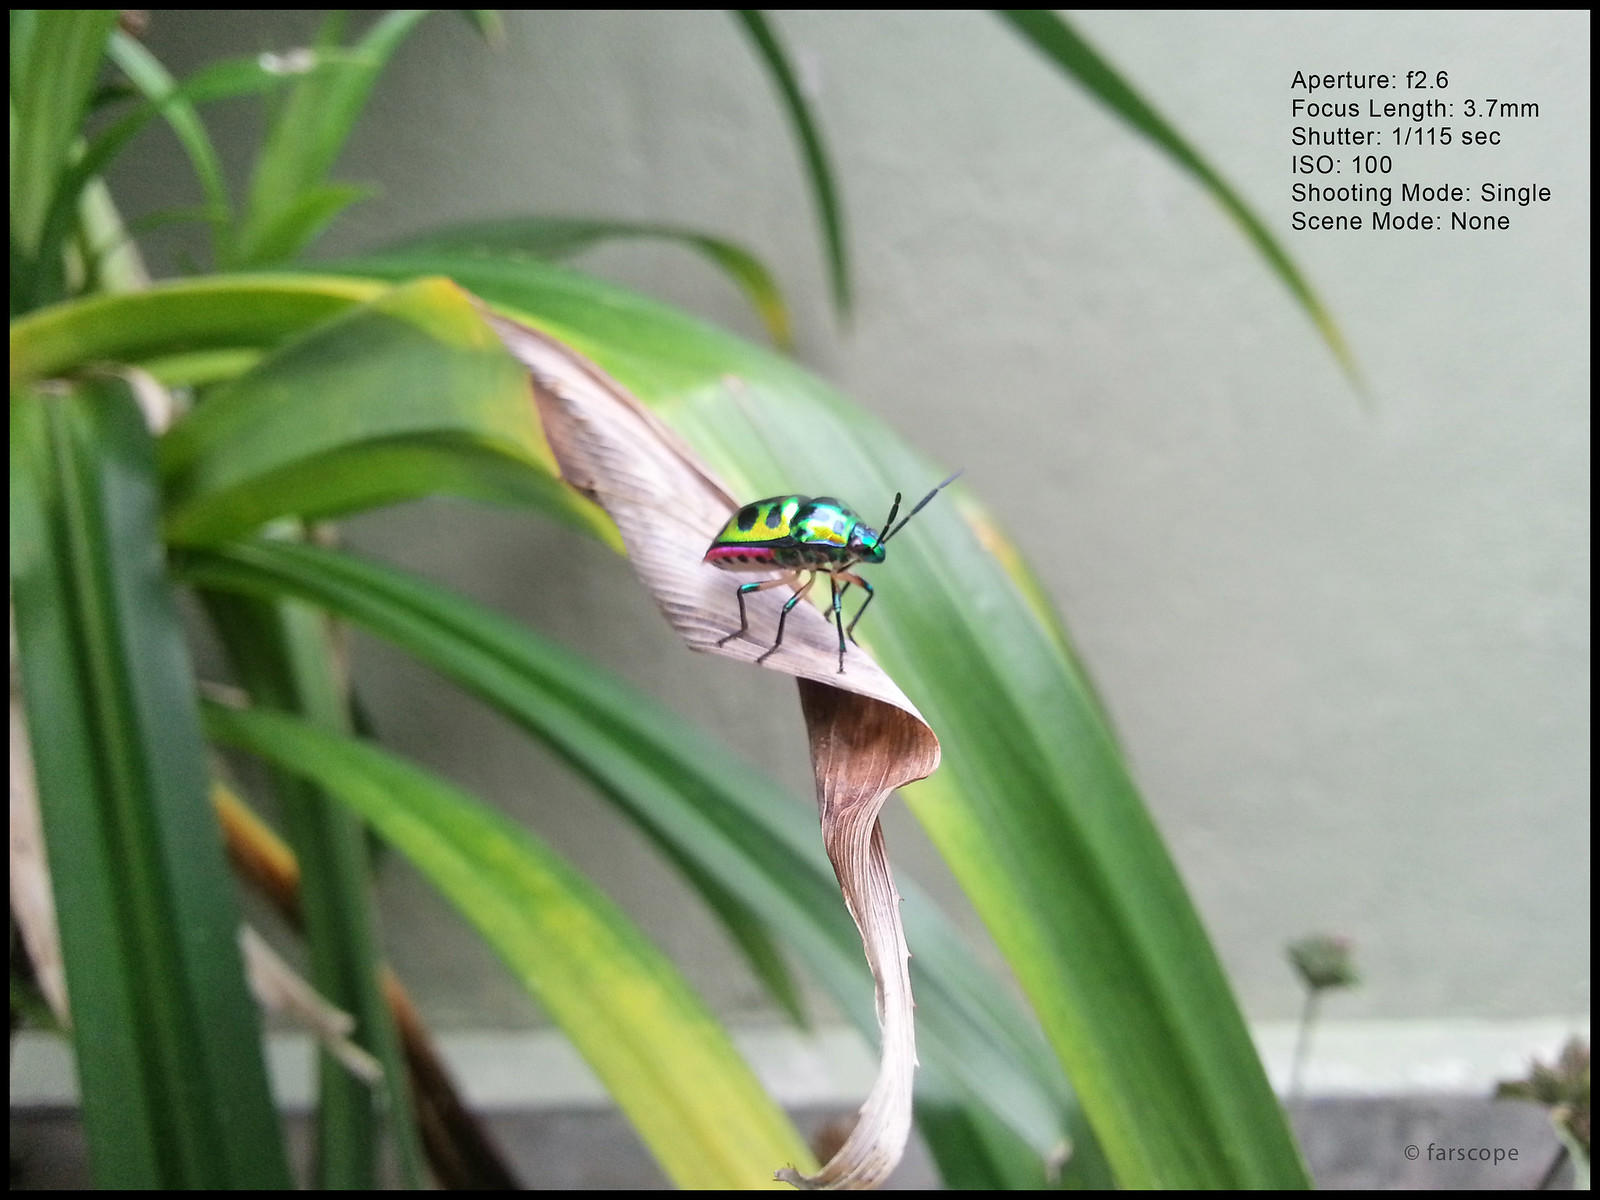
Single
Single shot mode literally means that every time you tap the screen, it will only take one picture. It is the default settings and most used in auto.
When to use?
- Probably by default, this is the setting you will use most.
Tips?
- None
Burst Mode
The pictures taken under burst mode will be labelled with the same file name but with suffix 1 - 20 to indicate the arrangement of frames.
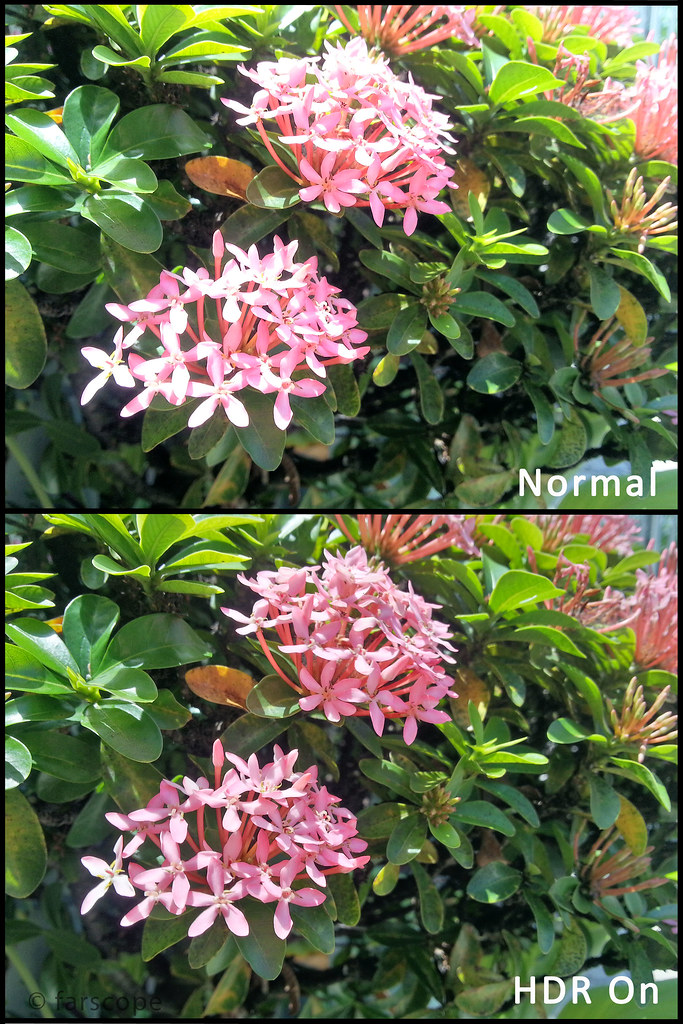
HDR
HDR is a fancy feature that comes along with many new cameras and phones. HDR basically means High Dynamic Range, it solved the problem of overexposed and underexposed portion of a image. Usually when we take a picture of people or building under a very bright sky, the metering tend to tell the camera to lower the exposure to compensate the bright portion to avoid overexposure. This results in a very unpleasing image where the person or building will appear very dark while the sky is properly exposed, or the person or building is properly exposed but the sky has blown out all white. I believe many people faced this kind of situation before. To understand more about HDR and more technical terms for your digestion, do click the reference link below from Wikipedia:
HDR works by combining a few images into one, usually two or three photos will be used and sometimes more. It works by combining images with different exposure values, and then uses the correctly exposed portion will be combined into the final image. Using the previous example of people and bright sky, HDR combines the fairly lit human face, together with the blue sky from the other picture, and then merge the two portion into one. Depending on how much the post processing is involved, sometimes HDR will result in a very unnatural image like an oil painting.
I'm not sure how many pictures that the S3 uses to combine a HDR image, but judging from the end result, I'm guessing just two pictures are used to create the HDR image. The camera will store two pictures under the same file name, one original picture and then the processed image with a HDR suffix to indicate it's a HDR image. The EXIF of the HDR image is also removed. However, I found out that the HDR effect of the Galaxy S3 is not obvious and many times I do get both identical image for original and processed.
The HDR output from the camera is also not satisfying and often made the sky looks cloudy instead of clear blue sky. It is also noticed that the HDR image has slightly lower sharpness and details when compared to single shots for some cases. i will try to test more for the HDR feature for various cases and update this from time to time.
When to use?
- During difficult moments to have a good exposure of both foreground and background. e.g. clear blue sky but dark foreground.
- Sometimes will help in some low light situation.
Tips?
- Good for landscape and building/cityscape
- Try to hold the phone as steady as possible because the camera is taking more than one photo, especially in low light area
- Not really recommended for portraits as will produce very unnatural scene.
Smile Shot
Smile Shot is a feature available in many digital camera where the camera will try to detect faces within the frame and takes a picture when ever a smile is detected. Hence, instead of focusing in the middle of the frame, the camera will focus on the face instead, which is actually better and reduces the chances of off-focus pictures. I haven't really put this into test because no one wants to pose for me due to camera shy. There is no settings available to change the smile sensitivity like some digital cameras. It works by tapping on the shutter button once, and then the camera will track the faces and captures the picture when a smile is detected.
Not sure how wide the smile need to be and how far can it detect the face. I only tested with a picture of a smiling face and it is able to capture it from quite a distance. Translating it to a human scale, I would say a distance of 1 meter to 3 meter will be safe. All you need is to show your teeth and the camera will take a picture of you.
When to use?
- A portrait where you need a good focus on the face instead of middle of the frame
- A self portrait, instead of tapping button or voice command, you just need to smile to your camera.
Tips?
- Be within 3 meters (10 feet) of distance from your camera
- In a good lighting area with good visual of your face, and your teeth of course
- Say "Cheese" when it fails to detect your smile and you will still get a good image of your face.
Beauty
Beauty Mode will change your auto focus mode to Face Detection. After taking a picture, it will take some time to process. What I notice is, during the process, heavy noise reduction and spot healing took place. I can guess that it is to beautify human's face for a portrait shot, removing as many possible flaws on the face, resulting in a very smooth and clear face. In my opinion, this type of editing might favour some girls, but it will render the picture a bit unnatural.
When to use?
- remove noise and pimples on a face typically.
- for portrait shots or self portrait shots.
Tips?
- none
Sample pictures later.
Panorama
Similar to many other Android phones, a sweep Panorama feature is also available in the Galaxy S3. It stitches up to 8 images together and processed considerably fast.
When shooting panorama at night or in low light conditions, try not to swipe the phone too fast and always stop the movement before the guiding frame lines and slowly move to allow the phone to capture a good low light shot. More details are explained in this additional post of
Night Panorama Limitations.
When to use?
- When you want to have a wide view image of that particular area.
- Well, when you want a panorama!
Tips?
- Bright day with good lights. Panorama in night will end up getting the whole picture with motion blur.
- Try not to change the altitude too much otherwise you will end up getting a bad stitch.
- Don't sweep too fast and follow the guiding frame, slow down yr sweeping speed as you approach the guiding frame. Missing the frame will end up in a bad stitch later.
Cartoon
It's just a filter to create fancy colours on your picture. Not a fan of this feature and won't be using it at all. There are better alternatives out there in the Play Store like Paper Camera.
When to use?
- No comment
Tips?
- No comment
Share Shot
Share shot feature is discussed in
Part 1. In Share Shot, Scene Mode is unavailable and Wifi-Direct connection is required.